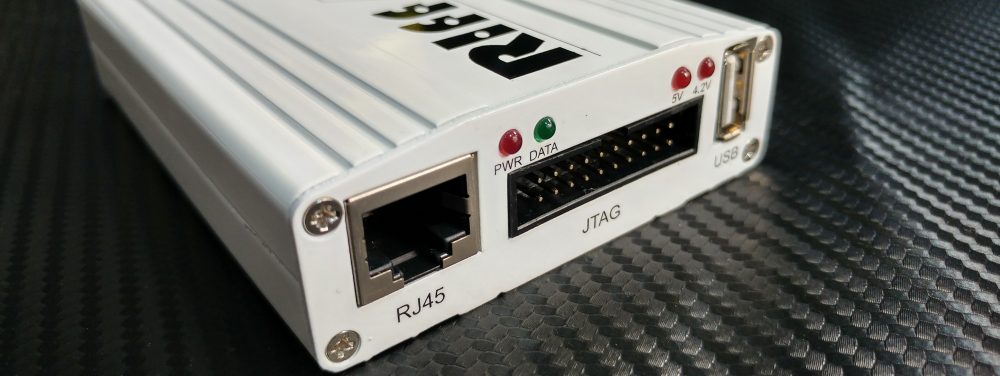
RIFF JTAG – Easy repair Samsung SCH-i510 Droid Charge 4G LTE (Samsung Stealth) supported
Samsung I510 is based on the S5PCxxx Processor (ARM core is Cortex-A8). Please note the adaptive clocking mode (RTCK) is not available on this processor, so make sure to select a fixed TCK frequency.
To establish the JTAG connection attach battery cable and press Power On key.
In case after resurrection the download mode is not initiated (LCD remains blank) do repeat resurrection with ‘Clone Gremlin zone’ option checked.
To resurrect Samsung I510:
- Solder JTAG cable to Samsung I510 JTAG pads;
- Attach battery cable and press Power On key;
- Make sure Samsung I510 is selected in the list of models;
- Make sure a fixed TCK frequency is selected;
- Click Resurrect button;
- Wait till software signals a successful operation completion;
- Disconnect USB cable, de-solder JTAG wires;
Now phone is in bootable condition, that is, even if it does not start up normally, you can flash it using original Samsung downloader software to restore it to the working state.
To enter download mode:
- Disconnect PC cable;
- Insert battery;
- Hold both ‘Volume Down’ and ‘Home’ keys and press Power-On.
.