RIFF JTAG – Easy repair Samsung SCH-i510 Droid Charge 4G LTE (Samsung Stealth) supported

RIFF JTAG – Easy repair Samsung SCH-i510 Droid Charge 4G LTE (Samsung Stealth) supported

Samsung I510 is based on the S5PCxxx Processor (ARM core is Cortex-A8). Please note the adaptive clocking mode (RTCK) is not available on this processor, so make sure to select a fixed TCK frequency.
To establish the JTAG connection attach battery cable and press Power On key.
In case after resurrection the download mode is not initiated (LCD remains blank) do repeat resurrection with ‘Clone Gremlin zone’ option checked.

To resurrect Samsung I510:

  •  Solder JTAG cable to Samsung I510 JTAG pads;
  •  Attach battery cable and press Power On key;
  •  Make sure Samsung I510 is selected in the list of models;
  •  Make sure a fixed TCK frequency is selected;
  •  Click Resurrect button;
  •  Wait till software signals a successful operation completion;
  •  Disconnect USB cable, de-solder JTAG wires;

Now phone is in bootable condition, that is, even if it does not start up normally, you can flash it using original Samsung downloader software to restore it to the working state.

To enter download mode:

  •  Disconnect PC cable;
  •  Insert battery;
  •  Hold both ‘Volume Down’ and ‘Home’ keys and press Power-On.
.
samsung_sch-i510_droid_charge

RIFF JTAG – Easy repair Samsung GT-i9505G Galaxy S4 LTE Google Play supported

RIFF JTAG – Easy repair Samsung GT-i9505G Galaxy S4 LTE Google Play supported

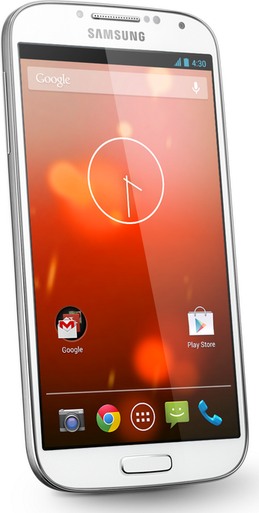
Repairing bricked Samsung I9505G is easy with the RIFF Box.
Phone is auto powered on with USB Data Cable connected to the PC while battery is inserted. Please note, battery must be charged. If battery is not charged enough there is chance of getting 0x42 error during connection stage.
There is some kind of anti-downgrade protection implemented in this model. Thus You have to resurrect your phone with the firmware version not lower than the one the phone had before being killed. For this, during resurrection You can select firmware version to be used as resurrection data.
In case there is even more newer firmware available which is not yet included into current DLL, You can always use eMMC Plugin to manually flash boot partitions into your phone. For this, click plugin’s the ‘Load Layout from Device’ button and then use ‘Inject Data from File…’ mouse left clicks to inject boot files from firmware You have into the proper partitions (SBL1, SBL2, SBL3, RPM, TZ and ABOOT) and then flash them back to phone.

To resurrect Samsung I9505G:

  •  Solder JTAG cable to Samsung I9505G JTAG pads;
  •  Connect USB cable or instert batteryu;
  •  Make sure Samsung I9505G is selected in the list of models;
  •  Click Resurrect button;
  •  Wait till software signals a successful operation completion;
  •  Disconnect power supply, de-solder JTAG wires;

Now phone is in bootable condition, that is, even if it does not start up normally, You can flash it using known flashing methods.
.
samsung_galaxy_s4_google_play

RIFF JTAG – Easy repair Samsung GT-S6310 Galaxy Young supported

RIFF JTAG – Easy repair Samsung GT-S6310 Galaxy Young supported

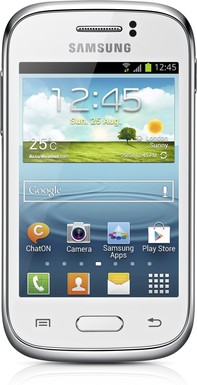
Repairing bricked Samsung S6310 is easy with the RIFF Box.
Note, one simple way to connect over JTAG – connect USB cable to PC and insert battery. In this case phone is automatically powered on, so no need to press any power-on buttons on the phone keypad.

To resurrect Samsung S6310:

  •  Solder JTAG cable to Samsung S6310 JTAG pads;
  •  Insert USB Data cable into board and PC;
  •  Make sure Samsung S6310 is selected in the list of models;
  •  Click Resurrect button;
  •  Wait till software signals a successful operation completion;
  •  Disconnect power supply, de-solder JTAG wires;

Now phone is in bootable condition, that is, even if it does not start up normally, you can flash it using known flashing methods.
.
samsung_gt-s6310_galaxy_young

RIFF JTAG – Easy repair Samsung GT-S6310N Galaxy Young supported

RIFF JTAG – Easy repair Samsung GT-S6310N Galaxy Young supported

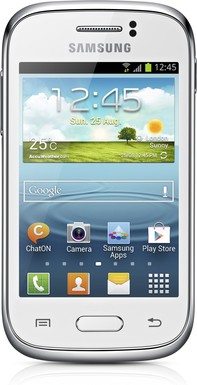
Repairing bricked Samsung S6310N is easy with the RIFF Box.
Note, one simple way to connect over JTAG – connect USB cable to PC and insert battery. In this case phone is automatically powered on, so no need to press any power-on buttons on the phone keypad.

To resurrect Samsung S6310N:

  •  Solder JTAG cable to Samsung S6310N JTAG pads;
  •  Insert USB Data cable into board and PC;
  •  Make sure Samsung S6310N is selected in the list of models;
  •  Click Resurrect button;
  •  Wait till software signals a successful operation completion;
  •  Disconnect power supply, de-solder JTAG wires;

Now phone is in bootable condition, that is, even if it does not start up normally, you can flash it using known flashing methods.
.
samsung_gt-s6310_galaxy_young

RIFF JTAG – Easy repair Samsung A777 supported

25.10.2013    RIFF JTAG – Easy repair Samsung A777 supported

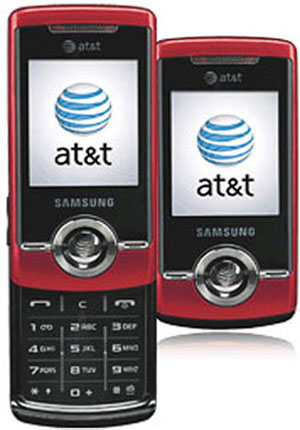
The Samsung A777 board is auto powered on with USB Data Cable connected to the PC. Battery presence is not required; connection can be established with detached board.

To resurrect Samsung A777:

  •  Solder JTAG cable to Samsung A777 JTAG pads;
  •  connect USB cable;
  •  Make sure Samsung A777 is selected in the list of models;
  •  Click Resurrect button;
  •  Wait till software signals a successful operation completion;
  •  Disconnect power supply, de-solder JTAG wires;

Now phone is in bootable condition, that is, even if it does not start up normally, you can flash it using known flashing methods.

To enter download mode:

  •  Disconnect PC cable;
  •  Insert battery;
  •  Hold ‘9’ key and press ‘Power ON’ button.

.
samsung-a777

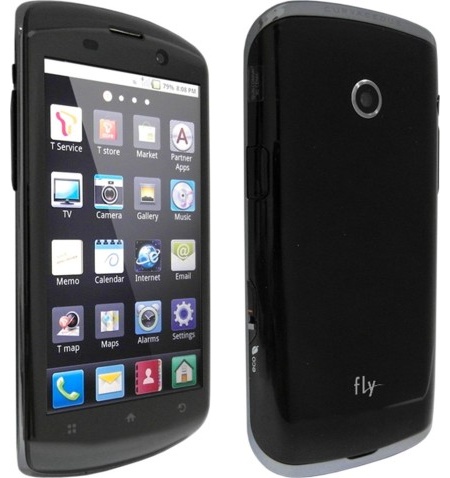
RIFF JTAG – Easy repair Fly IQ 280 supported

25.10.2013    RIFF JTAG – Easy repair Fly IQ 280 supported

Repairing bricked Fly IQ280 is easy with the RIFF Box.

To resurrect Fly IQ280:

  •  Solder JTAG cable to Fly IQ280 JTAG pads;
  •  Insert Fly IQ280 into any USB port for power and attach battery if required;
  •  Make sure Fly IQ280 is selected in the list of models;
  •  Click Resurrect button;
  •  Wait till software signals a successful operation completion;
  •  De-solder JTAG wires;

.
fly_iq280

RIFF JTAG – Easy repair HTC Butterfly X920d (HTC DLX) supported

25.10.2013   RIFF JTAG – Easy repair HTC Butterfly X920d (HTC DLX) supported

Repairing bricked HTC Butterfly (PL9911000) is easy with the RIFF Box. Phone is auto powered on with USB Data Cable connected to the PC. Battery presence may be required.
In case you have no USB cable near, make sure battery is charged enough and hold Power On button during initiation of JTAG connection.
Resurrector will reflash radio’s boot zone and will re-write PDA’s SPL to 1.41.0000 version. Additionally to SPL and Radio zones, the zone which contains Model ID is re-flashed too. Thus after resurrection phone will have Model ID = ‘PL9911000’.

To resurrect HTC Butterfly:

  •  Solder JTAG cable to HTC Butterfly (PL9911000) JTAG pads;
  •  Insert USB Data cable into board and PC;
  •  Make sure HTC Butterfly (PL9911000) is selected in the list of models;
  •  If you use battery, press Power On key;
  •  Click Resurrect button;
  •  Wait till software signals a successful operation completion;
  •  Disconnect power supply, de-solder JTAG wires;

Now phone is in bootable condition, that is, even if it does not start up normally, you can flash it using known flashing methods.

To enter download mode:

  •  Disconnect PC cable;
  •  Insert battery;
  •  Hold ‘Volume Down’ key and press ‘Power ON’ button.

.
htc_butterfly_2

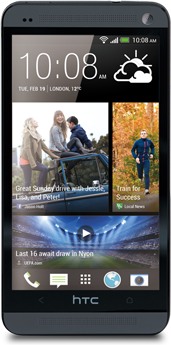
RIFF JTAG – Easy repair HTC One M7 PN071100 supported

25.10.2103   RIFF JTAG – Easy repair HTC One M7 PN071100 supported

Repairing bricked HTC OneM7 U (PN0711000) is easy with the RIFF Box. Phone is auto powered on with USB Data Cable connected to the PC. Battery presence may be required.
In case you have no USB cable near, make sure battery is charged enough and hold Power On button during initiation of JTAG connection.
Resurrector will reflash radio’s boot zone and will re-write PDA’s SPL to 1.44.0000 version. Additionally to SPL and Radio zones, the zone which contains Model ID is re-flashed too. Thus after resurrection phone will have Model ID = ‘PN0711000’.

To resurrect HTC OneS:

  •  Solder JTAG cable to HTC OneM7 U (PN0711000) JTAG pads;
  •  Insert USB Data cable into board and PC;
  •  Make sure HTC OneM7 U (PN0711000) is selected in the list of models;
  •  If you use battery, press Power On key;
  •  Click Resurrect button;
  •  Wait till software signals a successful operation completion;
  •  Disconnect power supply, de-solder JTAG wires;

Now phone is in bootable condition, that is, even if it does not start up normally, you can flash it using known flashing methods.

To enter download mode:

  •  Disconnect PC cable;
  •  Insert battery;
  •  Hold ‘Volume Down’ key and press ‘Power ON’ button.

.
htc_one_2

RIFF JTAG – Easy repair HTC One M7 PN072000 supported

25.10.2013  RIFF JTAG – Easy repair HTC One M7 PN072000 supported

Repairing bricked HTC OneM7 WLS (PN0720000) is easy with the RIFF Box. Phone is auto powered on with USB Data Cable connected to the PC. Battery presence may be required.
In case you have no USB cable near, make sure battery is charged enough and hold Power On button during initiation of JTAG connection.
Resurrector will reflash radio’s boot zone and will re-write PDA’s SPL to 1.44.0000 version. Additionally to SPL and Radio zones, the zone which contains Model ID is re-flashed too. Thus after resurrection phone will have Model ID = ‘PN0720000’.

To resurrect HTC OneS:

  •  Solder JTAG cable to HTC OneM7 WLS (PN0720000) JTAG pads;
  •  Insert USB Data cable into board and PC;
  •  Make sure HTC OneM7 WLS (PN0720000) is selected in the list of models;
  •  If you use battery, press Power On key;
  •  Click Resurrect button;
  •  Wait till software signals a successful operation completion;
  •  Disconnect power supply, de-solder JTAG wires;

Now phone is in bootable condition, that is, even if it does not start up normally, you can flash it using known flashing methods.

To enter download mode:

  •  Disconnect PC cable;
  •  Insert battery;
  •  Hold ‘Volume Down’ key and press ‘Power ON’ button.

.
htc_one_4

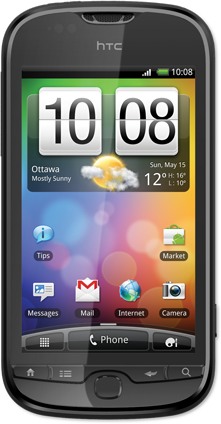
RIFF JTAG – Easy repair HTC Panache 4G supported

25.10.2013   RIFF JTAG – Easy repair HTC Panache 4G supported
Repairing bricked HTC Panache is easy with the RIFF Box. Phone is auto powered on with USB Data Cable connected to the PC while battery is connected.

Current resurrector works via USB interface thus no JTAG connection is required. You may need to install RIFF BOX DCC Loader USB Interface USB driver if you run this for the first time. Drivers are located in JTAG Manager directory (Drivers folder).
In order to connect, device must be detected by system as Qualcomm HS-USB QDLoader communication port. To force device into this mode (that is if your device is dead but there is still no USB activity when you connect it to PC with USB cable) use testpoint to disable the eMMC memory – for this shortcut specified point on the schematics to the GND during power-on stage.
Resurrector will reflash radio’s boot zones and will re-write PDA’s SPL to 0.89.0005 version. Additionally to SPL and Radio zones, the zone which contains Model ID is re-flashed too. Thus after resurrection phone will have Model ID = ‘PD1510000’.
There is option to reflash BOOT and RECOVERY zones.

To resurrect HTC Panache via USB Cable:

  •  If required, use testpoint to force HS-USB QDLoader mode: for this de-power board, shortcut specified point in the schematics to GND with the help of a needle, insert USB cable into PC, wait while phone enumerates as HS-USB QDLoader and then remove the needle;
  •  Make sure USB cable is attached to the board and is connected to PC;
  •  Make sure HTC Panache via USB is selected in the list of models;
  •  Click Resurrect button;
  •  Wait till software signals a successful operation completion;
  •  Disconnect power supply, de-solder JTAG wires;

Now phone is in bootable condition, that is, even if it does not start up normally you can flash it using known flashing methods.

To enter download mode:

  •  Disconnect PC cable;
  •  Insert battery;
  •  Hold ‘Volume Down’ key and press ‘Power ON’ button.

.
htc_panache